Monday, 11 January 2016

Calendar Girl Birthday Book - BoBunny DT

Another year has begun, and yet again its going fast - can't believe its nearly the middle of January already!  This year I want to be a bit more organised!!  and thats where this idea sprang from.

Im notoriously late with birthday presents.  Terrible.  So bad in fact that I've been a month late before :( I have the ideas for gifts its just that I can't seem to get myself organised in advance enough to get them sent.  So this year I aim to be different.  With the help of this wee book :)


At the end of last year - sounds so long ago eh? lol.  - BoBunny released the Calendar Girl collection.  When I looked at it I thought it had so many options, not just for its original purpose which was planners. Project life also sprang to mind.  But I also thought of my birthday book.  Each month has a blank calendar so perfect to use in any form.


So where to start?  I made the pages first, layering them on white cardstock.  Punched some holes and created an embossed line to imitate the look of a fold.  Each calendar was then inked along the edges in a corresponding colour.


On the reverse I layered white cardstock.  For each piece I inked the edges in the same colour ink I had used for each calendar page.  So January is blue, so I used blue ink etc.  I can then write the names and dates of each person on back and any other information I wanted.  I used a selection of noteworthy, and  buttons from various collections to embellish them.


To identify each persons birthday I used the stars from the Cascade Stickable Stencils with either pearlescents or glitter paste, depending on which colour I wanted.


For dates that were all about Forbes and I, gold glitter paste was used with hearts from the same stencil set.  May 24th was the day we got engaged :)


To create the cover I used black thick chipboard and covered it with patterned paper - its was about 6x6" so the paper pads were perfect for coverage.  I layered on top some Journalling cards from the collection and then roughly painted on gesso, followed by pearlescents.  Once it was dry I used a baby wipe to remove some, going for a roughed up look.  Random painting using Mint glimmer spray and then random stamping, finished the background off.
Further layers are created by using a laser cut chipboard phrase, stickers, noteworthy and muslin.  The butterflies were fussy cut from the Primrose collection.  Two layers of washi went along the bottom, and it was finished.


Easy peasy!  And now it sits on my desk so theres no forgetting!!
See you next time :)

Sunday, 27 December 2015

Christmas With a Twist - BoBunny DT

The silly season is nearly gone :( a shame because I love this time of year.  The giving of gifts, family, the thrill of getting the perfect gift for someone, or better yet, making it ;)

This year I made a few things but one of the more tricky - well for me anyway - was being asked to make a childs name - decorating wooden letters.  Boys! I find them tricky at the best of times.  They don't come easy, a bit like mixed media lol.

The only requirement was blue.

So when is a Christmas range not a Christmas range?  When you take the plainer pieces of course!


Ived used the plainer blue pieces of paper from the Sleigh Ride Collection from BoBunny, and decorated them with glitter paste, stencils, stamps and buttons.


The close up shows the stars from the Cascade Stickable Stencils, with Copper Glitter Paste - quick and easy because the glitter dries so quick.  A few random stamping strips with the new Rough it Up stamps finishes it off.


The chipboard I first gessoed and then painted it with Chocolate Pearlescents.  Layered metal cogs and buttons finished it off.
Hopefully one little boy is very happy!

Merry Christmas to you all, and thanks for dropping by :)


Friday, 27 November 2015

An Enchanted Garden - BoBunny DT

In some parts of the world its heading into winter, but for me its spring and with that comes the nor west winds that drive me crazy :( but theres also the amazing colour of spring bulbs and blossom :)  and its that colour and floral abundance that got me thinking about this project.

Ive had this terrarium for awhile, it was going to be a Christmas project, but I fell in love with Enchanted Harvest!, and knew it was now going to be my wee forest :)


I love that there is so much fussy cutting!! :) :) and the autumn colour scheme, which is one of my favourite combos :)  and butterflies! and did I mention the sunflowers?!!  Theres a lot to love!  And while its also about Thanks Giving it lends itself to so many other possibilities.


The butterflies are curled to give them 'flight' and mounted on laminate to help give them the appearance of flying :)


I fussy cut the little girl out - I quite like how she looks like she's peering up at those butterflies :)


Looking down from above, - its'nt that wee deer so cute?!


All the flowers are curled and leaves are dry embossed with my flower making tool set, which I think gives them all 'life' and not looking flat.

If you are celebrating Thanks Giving, I hope you've had a lovely weekend :)
thanks for popping by, til next time  :)

Friday, 13 November 2015

Be Happy………………………….

This week I finally finished my friends birthday present.  It wasn't what I initially had in mind but that just was not working, and then I saw this in Spotlight and new exactly what I wanted to do.  But Im still late :(  I seem to have developed a track record for that :( :(  even though I always have the best of intentions!!


Kaisercraft have put out some of these phrases in MDF - they come with a wee stand to sit upright but I discarded that to mount it on a canvas.

I love all those layouts or canvas with a rainbow of colours in the background and wanted to have a go at something like that, so that was the idea for what I wanted behind the phrase.


I couldn't be bothered painting the wood with a brush, so I spray painted it - far quicker!  I sprayed on the paint colours I wanted to use for my background, and then used a paint brush to roughly spread it around, and waited for it all to dry.  I used two different stencils for the background, one with gel and one with texture paste.


When that was all dry I then started stamping with two different stamp sets, one Finnabair and the other a Prima stitches, stamp in black archival ink.  And that was it!  I LOVE it!!  So does the recipient ;)


As I sit here typing Im thinking also of the absolute rubbish going on in the world today.  My thoughts like many of you are of Paris.  I seriously wonder some days what the world is coming to.  Never mind global warming, we seem to be doing a better job at killing each other.  I wonder why we can't just accept that we are all different and get on with it instead of trying to make people conform to what we think they should be?

Be happy everyone :)

Friday, 30 October 2015

Dear Santa………. BoBunny DT

Hi there :)

Its funny how our tastes change, don't you think? When it came to Christmas I was always shades of red and gold.  My sister is always silver, white and glass.  Well her tree is anyway.  But the more years I scrapbook the more Im changing and Im not religiously sticking to my original colours for decorations - except the tree!  That stays the same colour scheme.  Of course if my husband allowed me to have another tree, well you never know what I'll come up with! lol ;)


So, Dear Santa? Its bright and actually quite funky and I found I liked it.  The wheels started spinning on what I could do with it, and then I remembered these boxes I had from last Christmas, and the idea came together.
Last year my sister organised a present from all my family for a series of date nights for Forbes and I and they were all printed out on paper, and popped in a small box. And then another one.  And another - there were 5 in total, all separately wrapped.  Her idea was that I would be able to use them later.  Did I mention she was sniggering away as each time I thought we had reached the end only to find another layer!


Ive used three of those boxes to create this project.  On the top Ive made a little house out of chipboard, and then made some mini presents, again out of chipboard.  When I saw that wee chipboard piece Gift Wrap Central I couldn't resist making it the sign on my wee house :)


My poinsettias Ive curled in on themselves and added some jewels from the yellow hues, die cutting a couple of different style leaves from my paper pad.


Lastly it needed some tags.  And of course Santa ;)


So how are your decorating plans coming along?  Its never too soon to start ;)
Incidentally, the other two boxes are yellow and they match Genevieve perfectly, just saying ;)

Tuesday, 22 September 2015

Stencil Storage with Provence - BoBunny DT

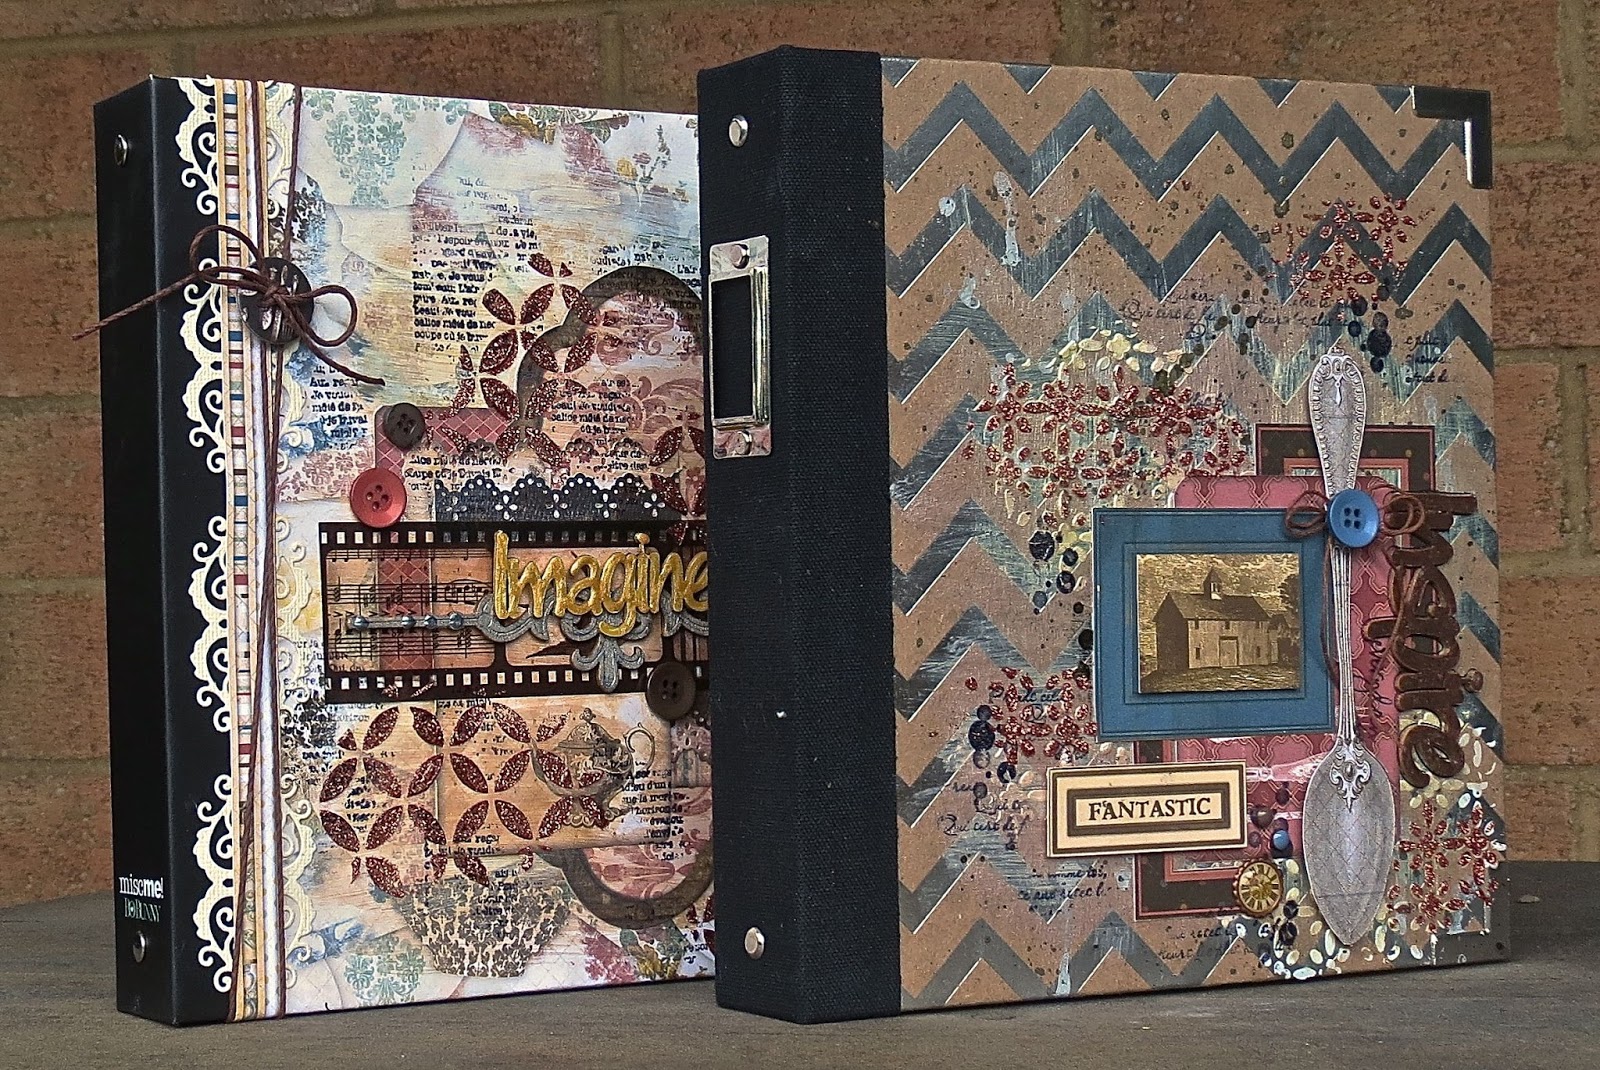
Remember that post I did recently about using Misc Me binders for my stamp storage?  Well I had another idea along the same lines, this time Im using the binder for storage for my new 6x9 Stickable Stencils, and my BB dies.


I wanted to keep most of the cool silver foil background, so I first gessoed the background and then roughly painted the background with Butterscotch and Coral Pearlescents, before using one of the new stencils -  Starling - with Copper Glitter Paste.


A bit of fussy cutting created layers, with some random stamping using To The Point stamp.


My chipboard piece I just coloured in with Chocolate Pearlesents, and then outlined with a black sharpie.


Heres a closeup of that fabulous wee stamp from the set.
Its a cold wet down here, perfect for a day creating by the fire :)  Roll on spring, where are you?!

Monday, 21 September 2015

Sleigh Ride - BoBunny DT

The mid year reveal of collections from BoBunny this year were AWESOME!  Sleigh Ride was one of my favourites :)  C'mon, if you know me well you will so know why lol. Blue and snowflakes :) :)  I had a couple of ideas for OTP - no surprises there lol, - but I decided to first do a layout.  We don't get a lot of snow where I live so I borrowed some pics from friend in Ireland from last winter.


Ive kept it really simple, using one sheet of paper for the base, glitter paste over a stencil, layering some Noteworthy pieces and creating a cluster of poinsettias and a smidgen of fussy cutting.  Now that I write that down it doesn't sound simple!


Two of the trees have been fussy cut from the same piece of paper that the poinsettias are die cut from.  Ive then layered on top of two trees, a third tree from the layered chipboard pack, creating depth to my tree cluster.


Over the background of the my base paper Ive used Gold Glitter Paste over one of the new Stickable Stencils, Snowflake.  I can't say enough how I love glitter paste!!!  Layer it on thick or thin, it still looks fab and dries super quick!


Another little closeup shows the glitter paste and the Spellbinders Poinsettia Ive made.

If you're heading towards Winter this collection will be awesome for you!  Then again if you just finished winter you will no doubt already have the perfect pics ;)

Thanks for popping by, see you next time!